The Complete Guide to Vue.js User Authentication with Auth0
Learn how to secure a Vue.js application by implementing user authentication, which includes user login, logout, and sign-up, along with protecting Vue.js routes. You'll enhance a starter Vue.js application to practice the following security concepts:
- Add user login and logout.
- Retrieve user information.
- Protect application routes.
- Call protected endpoints from an API.
Look for the 🛠️️ emoji if you'd like to skim through the content while focusing on the build steps.
This guide uses the Auth0 SPA SDK to secure Vue.js applications, which provides Vue.js developers with an easier way to add user authentication to Vue.js applications using a Vue.js plugin. The Auth0 SPA SDK provides a high-level API to handle a lot of authentication implementation details. You can now secure your Vue.js applications using security best practices while writing less code.
How does Auth0 work?
With the help of Auth0, you don't need to be an expert on identity protocols, such as OAuth 2.0 or OpenID Connect, to understand how to secure your web application stack. You first integrate your application with Auth0. Your application will then redirect users to an Auth0 customizable login page when they need to log in. Once your users log in successfully, Auth0 redirects them back to your app, returning JSON Web Tokens (JWTs) with their authentication and user information.
⏰⚡️ If you are short of time, check out the Auth0 Vue.js Quickstart to get up and running with user authentication for Vue.js in just a few minutes.
Get the Starter Application
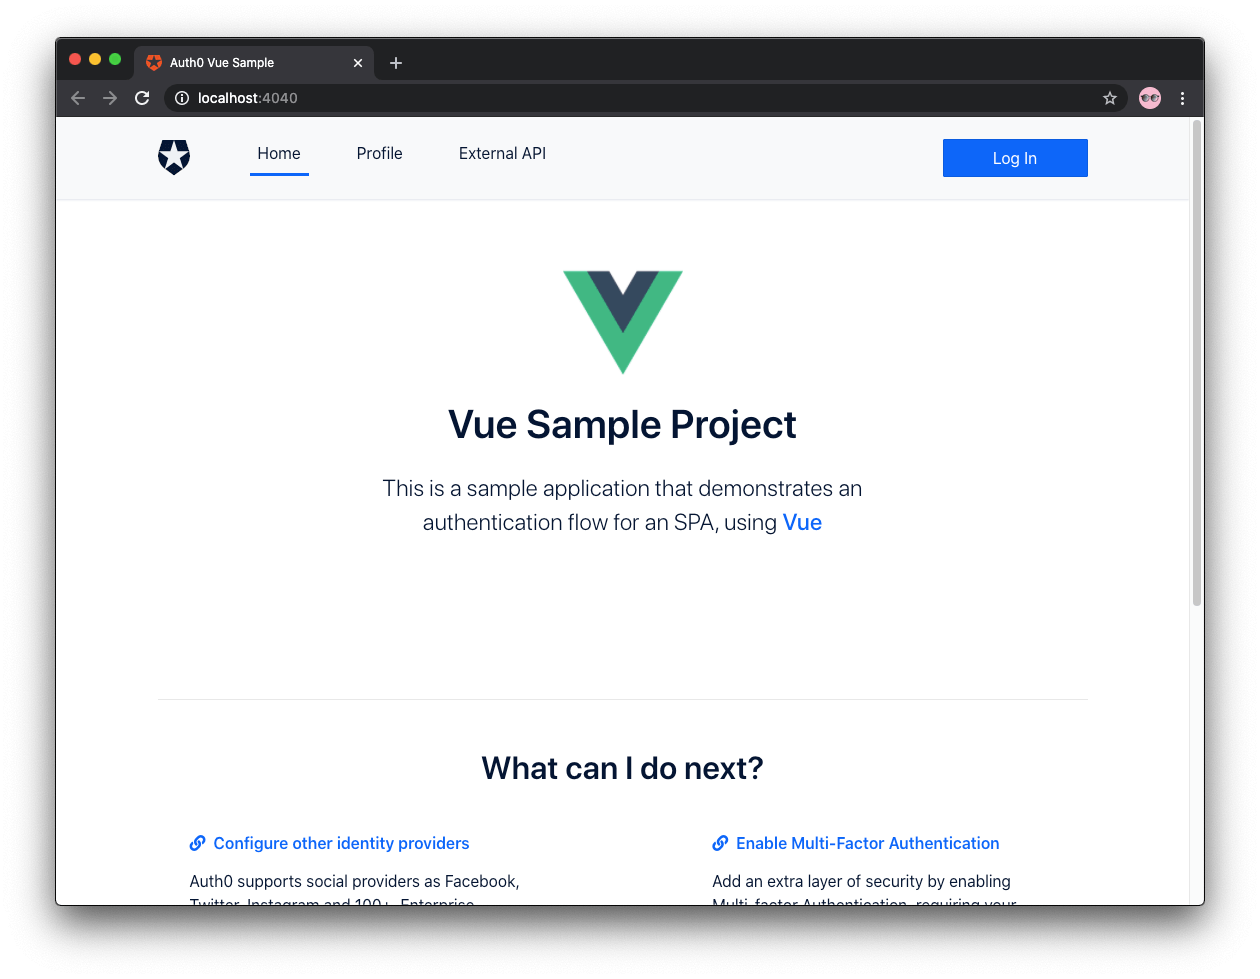
We have created a starter project using the Vue.js CLI to help you learn Vue.js security concepts through hands-on practice. The starter application uses Bootstrap with a custom theme to take care of your application's styling and layout. You can focus on building Vue.js components to secure your application.
🛠 As such, clone the auth0-vue-sample repository on its starter branch to get started:
git clone -b starter git@github.com:auth0-blog/auth0-vue-sample.git🛠 Once you clone the repo, make auth0-vue-sample your current directory:
cd auth0-vue-sample🛠 Install the Vue.js project dependencies:
npm install🛠 Run the Vue.js project:
npm run serveConnect Vue.js with Auth0
The best part of the Auth0 platform is how streamlined it is to get started by following these steps:
Sign up and create an Auth0 Application
A free account offers you:
- 7,000 free active users and unlimited logins.
- Auth0 Universal Login for Web, iOS & Android.
- Up to 2 social identity providers like Google, GitHub, and Twitter.
- Unlimited Serverless Rules to customize and extend Auth0's capabilities.
During the sign-up process, you create something called an Auth0 Tenant, representing the product or service to which you are adding authentication.
🛠 Once you sign in, Auth0 takes you to the Dashboard. In the left sidebar menu, click on "Applications".
🛠 Then, click the "Create Application" button. A modal opens up with a form to provide a name for the application and choose its type:
Name: Auth0 Vue.js Sample
Application Type: Single Page Web Applications
🛠 Click the "Create" button to complete the process. Your Auth0 application page loads up.
In the next step, you'll learn how to help Vue.js and Auth0 communicate.
What's the relationship between Auth0 Tenants and Auth0 Applications?
Create a communication bridge between Vue.js and Auth0
When you use Auth0, you don't have to build login forms. Auth0 offers a Universal Login page to reduce the overhead of adding and managing authentication.
How does Universal Login work?
Your Vue.js application will redirect users to Auth0 whenever they trigger an authentication request. Auth0 will present them with a login page. Once they log in, Auth0 will redirect them back to your Vue.js application. For that redirecting to happen securely, you must specify in your Auth0 Application Settings the URLs to which Auth0 can redirect users once it authenticates them.
🛠 As such, click on the "Settings" tab of your Auth0 Application page and fill in the following values:
🛠 Allowed Callback URLs
http://localhost:4040The above value is the URL that Auth0 can use to redirect your users after they successfully log in.
🛠 Allowed Logout URLs
http://localhost:4040The above value is the URL that Auth0 can use to redirect your users after they log out.
🛠 Allowed Web Origins
http://localhost:4040Using the Auth0 SPA SDK, your Vue.js application will make requests under the hood to an Auth0 URL to handle authentication requests. As such, you need to add your Vue.js application origin URL to avoid Cross-Origin Resource Sharing (CORS) issues.
🛠 Scroll down and click the "Save Changes" button.
🛠 Do not close this page yet. You'll need some of its information in the next section.
Add the Auth0 configuration variables to Vue.js
From the Auth0 Application Settings page, you need the Auth0 Domain and Client ID values to allow your Vue.js application to use the communication bridge you created.
What exactly is an Auth0 Domain and an Auth0 Client ID?
🛠 Open the Vue.js starter project, auth0-vue-sample, and create an auth_config.json file under the project directory:
touch auth_config.json🛠 Populate auth_config.json as follows:
{
  "domain": "YOUR_AUTH0_DOMAIN",
  "clientId": "YOUR_AUTH0_CLIENT_ID",
  "audience": "",
  "serverUrl": ""
}
🛠 Head back to your Auth0 application page. Follow these steps to get the domain and clientId values:
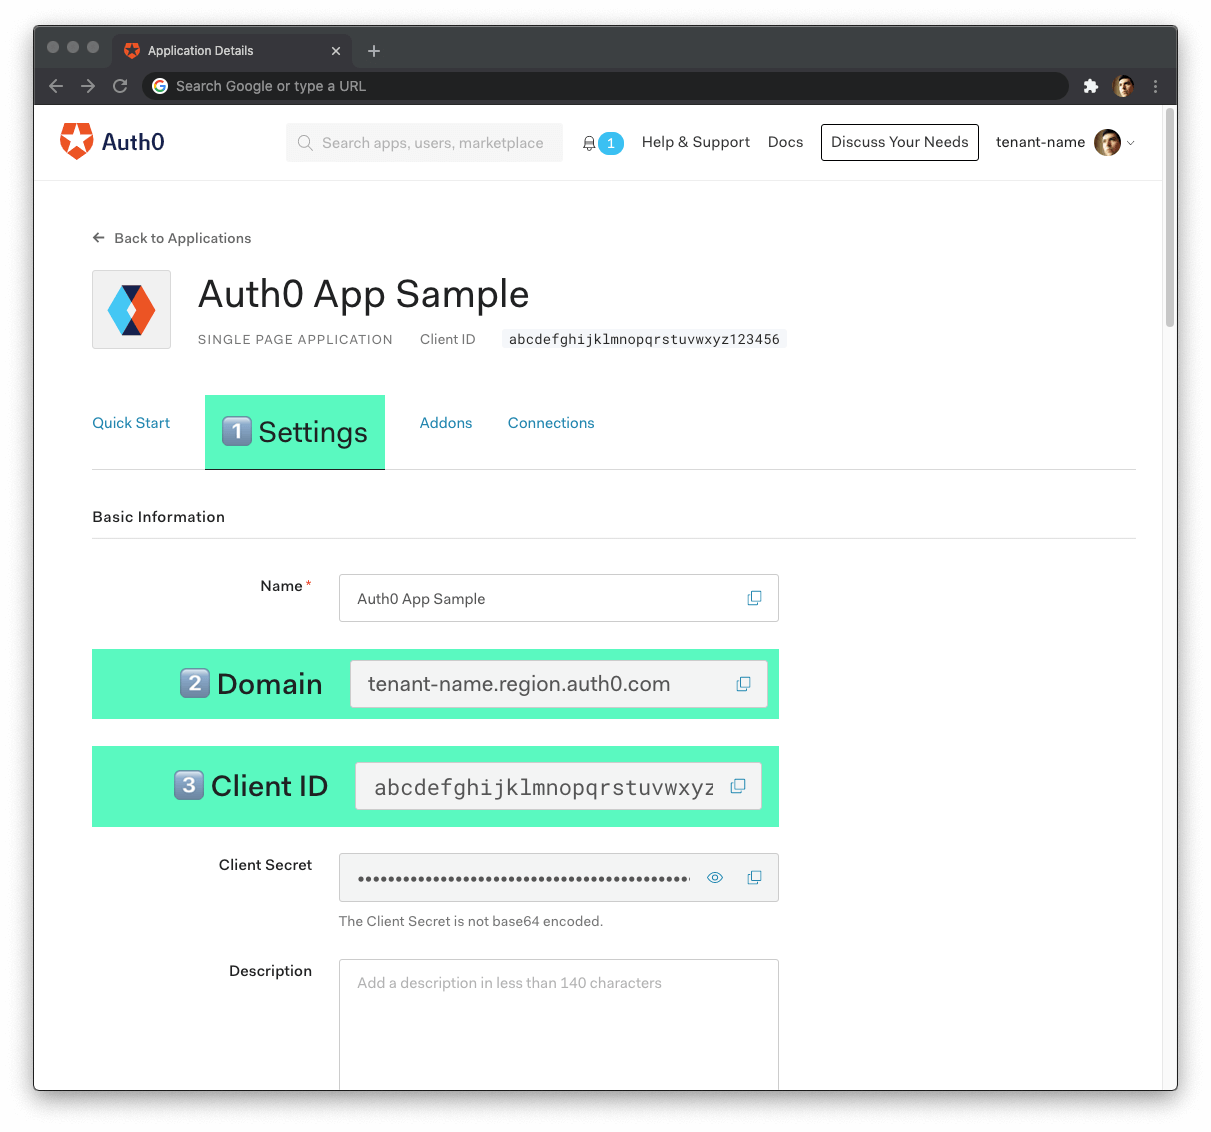
🛠 Click on the "Settings" tab, if you haven't already.
🛠 Use the "Domain" value from the "Settings" as the value of
domaininauth_config.json.🛠 Use the "Client ID" value from the "Settings" as the value of
clientIdinauth_config.json.
You'll learn more about the audience and serverUrl properties in the Call an API section. For now, you can leave those values as empty strings.
These variables let your Vue.js application identify itself as an authorized party to interact with the Auth0 authentication server.
Auth0 and Vue.js connection set
You have completed setting up an authentication service that your Vue.js application can consume. All that is left is for you to continue building up the starter project throughout this guide by implementing components to trigger and manage the authentication flow.
Feel free to dive deeper into the Auth0 Documentation to learn more about how Auth0 helps you save time on implementing and managing identity.
Create a Vue.js Authentication Plugin
You'll create different Vue.js components to trigger the authentication flow in your application. As such, you need to add the user authentication functionality to your Vue.js application at a global level.
One approach to add global-level functionality to Vue.js is using plugins, which take advantage of Vue's reactive nature. In the case of user authentication, a Vue.js plugin lets you create a reusable and reactive wrapper around the Auth0 SPA SDK, making it much easier to work with the asynchronous methods of the SDK.
If you want to learn how to create the Vue.js authentication plugin from scratch, head to the How to Create a Vue.js Plugin tutorial. If you already completed the Vue.js plugin tutorial, you can jump to the Add User Authentication section.
Otherwise, follow the instructions in this section to quickly create the Vue.js authentication plugin.
🛠 Execute the following command to install the Auth0 SPA SDK:
npm install @auth0/auth0-spa-js🛠 Create an auth directory within the src directory:
mkdir src/auth🛠 Create an auth0-plugin.js file within the src/auth directory:
touch src/auth/auth0-plugin.js🛠 Populate src/auth/auth0-plugin.js with the following code that defines a Vue.js plugin module:
/**
 *  External Modules
 */

import Vue from 'vue';
import createAuth0Client from '@auth0/auth0-spa-js';

/**
 *  Vue.js Instance Definition
 */

let instance;

export const getInstance = () => instance;

/**
 *  Vue.js Instance Initialization
 */

export const useAuth0 = ({
  onRedirectCallback = () =>
    window.history.replaceState({}, document.title, window.location.pathname),
  redirectUri = window.location.origin,
  ...pluginOptions
}) => {
  if (instance) return instance;

  instance = new Vue({
    data() {
      return {
        auth0Client: null,
        isLoading: true,
        isAuthenticated: false,
        user: {},
        error: null,
      };
    },
    methods: {
      async handleRedirectCallback() {
        this.isLoading = true;
        try {
          await this.auth0Client.handleRedirectCallback();
          this.user = await this.auth0Client.getUser();
          this.isAuthenticated = true;
        } catch (error) {
          this.error = error;
        } finally {
          this.isLoading = false;
        }
      },

      loginWithRedirect(options) {
        return this.auth0Client.loginWithRedirect(options);
      },

      logout(options) {
        return this.auth0Client.logout(options);
      },

      getTokenSilently(o) {
        return this.auth0Client.getTokenSilently(o);
      },
    },

    async created() {
      this.auth0Client = await createAuth0Client({
        ...pluginOptions,
        domain: pluginOptions.domain,
        client_id: pluginOptions.clientId,
        audience: pluginOptions.audience,
        redirect_uri: redirectUri,
      });

      try {
        if (
          window.location.search.includes('code=') &&
          window.location.search.includes('state=')
        ) {
          const { appState } = await this.auth0Client.handleRedirectCallback();

          onRedirectCallback(appState);
        }
      } catch (error) {
        this.error = error;
      } finally {
        this.isAuthenticated = await this.auth0Client.isAuthenticated();
        this.user = await this.auth0Client.getUser();
        this.isLoading = false;
      }
    },
  });

  return instance;
};

/**
 *  Vue.js Plugin Definition
 */

export const Auth0Plugin = {
  install(Vue, options) {
    Vue.prototype.$auth = useAuth0(options);
  },
};
🛠 Open src/main.js and use the Vue.use() method to install the plugin:
import Vue from 'vue';
import App from './App.vue';
import router from './router';

// Import the Auth0 configuration and plugin
import { domain, clientId, audience } from '../auth_config.json';
import { Auth0Plugin } from '@/auth/auth0-plugin';

import './assets/css/styles.css';

// Install the authentication plugin
Vue.use(Auth0Plugin, {
  domain,
  clientId,
  audience,
  onRedirectCallback: (appState) => {
    router.push(
      appState && appState.targetUrl
        ? appState.targetUrl
        : window.location.pathname,
    );
  },
});

Vue.config.productionTip = false;

new Vue({
  router,
  render: (h) => h(App),
}).$mount('#app');
The Auth0 SPA SDK is all set up. You are ready to implement user authentication using Vue.js components in the next section using your Auth0Plugin.
Add User Authentication
You need to provide UI elements for your users to trigger authentication events: login, logout, and sign up.
Create a login button
🛠 Create a LoginButton.vue file under the src/components/ directory:
touch src/components/LoginButton.vue🛠 Populate src/components/LoginButton.vue like so:
<template>
  <button
    class="btn btn-primary btn-block"
    v-if="!$auth.isAuthenticated"
    @click="login"
  >
    Log In
  </button>
</template>

<script>
  export default {
    name: 'LoginButton',
    methods: {
      login() {
        this.$auth.loginWithRedirect();
      },
    },
  };
</script>
As mentioned during the authentication plugin creation, you can pass a configuration object to loginWithRedirect() to customize the login experience. For example, you can pass options to redirect users to an Auth0 Universal Login page optimized for signing up for your Vue.js application. See RedirectLoginOptions for more details on these options.
Create a sign-up button
You can make users land directly on a sign-up page instead of a login page by specifying the screen_hint=signup property in the configuration object of loginWithRedirect():
{
  screen_hint: "signup",
}
🛠 Create a SignupButton.vue file under the src/components/ directory:
touch src/components/SignupButton.vue🛠 Populate src/components/SignupButton.vue like so to define a SignupButton component:
<template>
  <button
    class="btn btn-primary btn-block"
    v-if="!$auth.isAuthenticated"
    @click="signup"
  >
    Sign Up
  </button>
</template>

<script>
  export default {
    name: 'SignupButton',
    methods: {
      signup() {
        this.$auth.loginWithRedirect({
          screen_hint: 'signup',
        });
      },
    },
  };
</script>
Using the Signup feature requires you to enable the Auth0 New Universal Login Experience in your tenant.
🛠 Open the Universal Login section of the Auth0 Dashboard and choose the "New" option under the "Experience" subsection.

Comments
Post a Comment